Building A Medium-like Text Editor in ReactJS Using Draftail
Read my profile at https://hadna.space
There might be a moment in your life as a software developer that you need to build a text editing component for your ReactJS app, and you just don’t want to throw those fancy old-fashioned textarea or input tag in it. They just simply don’t meet your requirement.
Building from scratch? That probably not a good option as well, timeline-wise.
You start opening a new tab in your browser and search it in Google, and it didn’t end well. There are too many choices and they lead you to a deeper state of confusion. In that case, that is why I write this story.
Your First Step: Draftail
In this story, we’re going to use Draftail as the main component for our rich text editor. I have a good time using it, and I think it’s my time now to return the favor.
Please note that the goal of this story is not building a fully-featured Medium rich text editor, but we are building a working one which look alike, so the codes are minimal. You may want to customize it based on your need.
According to their website, Draftail is a configurable rich text editor built with Draft.js. It is easy to use regardless of skill level, it is extensible (it means that you can build your own custom extensions for a specific use case) and its API is backed by Draft.js and React. If you want to learn more about Draftail, you can check their website: Draftail.org.
Get Our Hands Dirty
Now, let’s jump into the code where we will actually build our Medium-like text editor. I make it as straightforward as I can, so you can follow every steps easily.
- Open your terminal, create your working directory, and change to it.
$ mkdir medium-like-text-editor && cd medium-like-text-editor
- Create your ReactJS app in the working directory (the dot/period in the command indicates that the ReactJS app will be installed in the current directory).
$ npx create-react-app .
- Install needed dependencies.
$ npm install --save draftail draft-js@0.10.5 draft-js-inline-toolbar-plugin draft-js-side-toolbar-plugin
You will see that the command above specify a DraftJS version (0.10.5). It is because, when I write this story, the latest supported version is DraftJS v0.10.5. I’ve tried to use the newer version of DraftJS, and it currently doesn’t work with the latest version of Draftail.
Based on the generated ReactJS app, we will only need to work on 2 files: App.js and App.css. So let’s begin.
- Edit your
App.jsso it will look like this:
import React from *"react"*;
import { DraftailEditor } from *"draftail"*;
import { EditorState } from *"draft-js"*;
import createInlineToolbarPlugin from *"draft-js-inline-toolbar-plugin"*;
import createSideToolbarPlugin from *"draft-js-side-toolbar-plugin"*;

import "./App.css";
import "draft-js/dist/Draft.css";
import "draftail/dist/draftail.css";
import "draft-js-inline-toolbar-plugin/lib/plugin.css";
import "draft-js-side-toolbar-plugin/lib/plugin.css";

const inlineToolbarPlugin = createInlineToolbarPlugin();
const { InlineToolbar } = inlineToolbarPlugin;

const sideToolbarPlugin = createSideToolbarPlugin();
const { SideToolbar } = sideToolbarPlugin;

const plugins = [inlineToolbarPlugin, sideToolbarPlugin];

class App extends React.Component {
    constructor(props) {
        super(props);
        this.state = {
            editorState: EditorState.createEmpty()
        };
        this.changeState = this.changeState.bind(this);
    }

    changeState(state) {
        this.setState({
            editorState: state
        });
    }

    render() {
        return (
            <div className="App">
                <DraftailEditor
                    editorState={this.state.editorState}
                    onChange={this.changeState}
                    placeholder="Tell your story..."
                    plugins={plugins}
                />
                <InlineToolbar />
                <SideToolbar />
            </div>
        );
    }
}

export default App;
- Edit your
App.cssso it looks like this:
.App {
    font-family: sans-serif;
    text-align: center;
    display: block;
}

/* Override default */
.Draftail-Toolbar {
    background: transparent !important;
    border: none !important;
}

/* Override default */
.Draftail-Editor {
    border: none !important;
    width: 60% !important;
    margin-top: 100px !important;
    margin-left: auto !important;
    margin-right: auto !important;
}

/* Override default */
.public-DraftEditor-content {
    font-family: Georgia, "Times New Roman", Times, serif !important;
}

/* Override default */
.public-DraftEditorPlaceholder-inner {
    font-family: Georgia, "Times New Roman", Times, serif !important;
}
Some people may do not prefer to use !important in the CSS, but it’s one of the fastest step we can do for now.
- Run it
$ npm start
Your terminal should open the browser automatically and open the ReactJS app you just run. If not, open [http://localhost:3000](http://localhost:3000) in your browser.
It will look nothing more than “Tell your story…” in your browser, but that’s it. Try to click it and write anything you want.
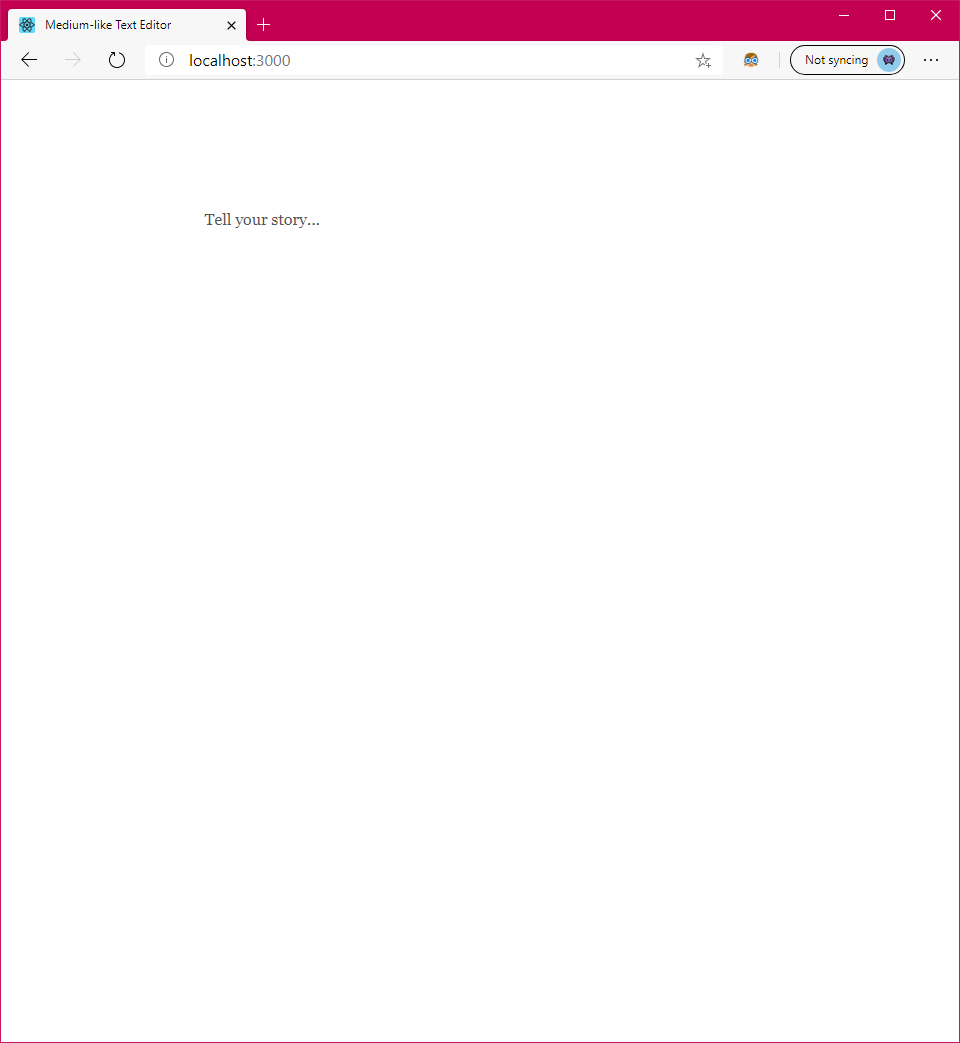 Default view
There will be a floating icon on the left side which you can hover and click. If you want to format a specific word/character, block it and a floating toolbar will show up.
 How it works
If you don’t want to do the step-by-step, I already put the project in my Github where you can clone it and run on your machine. Also, you may also want to try the working demo in Codesandbox.
Have a good day!
This story is imported from my Medium; and the featured image in this post is edited using my Spotify Photo Filter which you can use for free from my Mini Product.