Build A Group-Chat App in 30 Lines Using Node.js
A simple and (hopefully) to-the-point tutorial to build your first group-chat application using Node.js in less than 30 lines of code.
Node.js is arguably one of the most powerful JavaScript runtime environment that most people use nowadays to build server-side applications. Node.js is built on Google V8 JavaScript Engine , an open source high-performance JavaScript and WebAssembly engine. The V8 implements ECMAScript and WebAssembly, and runs on Windows 7 or later, macOS 10.12+, and Linux systems that use x64, IA-32, ARM, or MIPS processors. V8 can run standalone, or can be embedded into any C++ application.
Thank's to the community, there are a lot of Node.js modules we can use freely that will help (of not speed-up) you to get the things done. You can use the mighty npm install to install all your needed modules, where you can browse them here . This article will not cover on how to install Node.js and NPM on your local machine, there are already millions of tutorials in the wild, go find one that suits you .
NPM official websiteIn this article, I am going to show to how to build your first simple group chat using Node.js and Socket.io module. Socket.io is a Node.js module that enables real-time, bidirectional and event-based communication. It works on every platform, browser or device, focusing equally on reliability and speed. Some Socket.io usage examples:
- Real-time analytics
- Binary streaming
- Instant messaging and chat
- Document collaboration (think about Google Docs)
Let's get started!
Note: all these code is available on my GitHub, you can clone them here: github.com/dkhd/node-group-chat
Before we begin, I assume you are already understand and familiar with command line interface (CLI) since we are going to use it in this tutorial. If you do not feel comfortable to be around it, I tell you, it is worth learning.
1. Create the working directory
At first, let's create our working directory, where we will put all of our codes and assets. Use this command to create our working directory:
$ mkdir node-group-chat
.. and then change our directory to our newly created working directory:
$ cd node-group-chat
2. Initiate the project
By using npm command, we can initiate our project easily to create a file called package.json. If you wonder what a package.json is, it is a manifest file for the project that will store the project-related information e.g. author name, version, etc.
You can initiate the project by typing:
$ npm init
.. and follow the guidance that appears in your terminal.
3. Install modules
In this project, we are going to use at least two Node.js modules that we can easily install using NPM.
Express - Express is lightweight web application framework for Node.js. For this simple group chat, it is not necessary to use Express, but if you are planning to continue the development, this is nice to have.
Socket.io - Socket.io is the key module in this tutorial which enables the realtime communication between the clients and the server.
EJS - EJS (Embedded JavaScript) is a simple templating language that lets you generate HTML markup for your front-end.
You can install those modules using these command:
$ npm install express
and
$ npm install socket.io
and
$ npm install ejs
After all those process finished, your modules will be located under node_modules/ directory.
4. Do the code
Let's get our hand dirty.
Create a file named index.js (or whatever you defined in the package.json), and start importing the needed modules: express, http, and socket.io.
After you are done importing the modules, the next step is serving the front-end code and make sure the Node.js is running and we can access it from our browser (in this case I will use port 8080).
This function..
app.get('/', function(req, res) {
    res.send('Hello world!');
});
..is being used to serve the users every time they access our application, and shows Hello world! in the browser.
To start the application, you can type this in your terminal and hit the enter button:
$ node index.js

And we can access our application through the web browser on this URL: http://localhost:8080
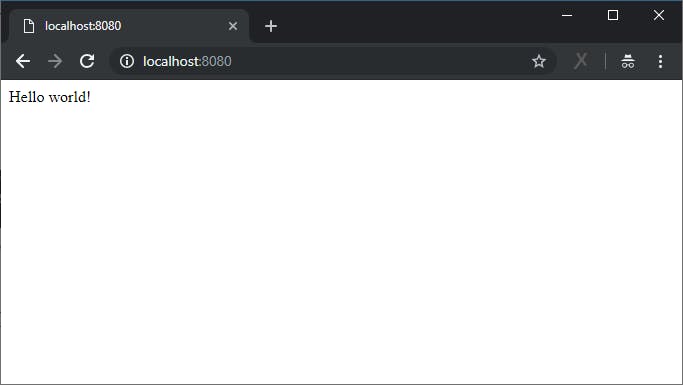
But in the next line of code, instead of using res.send('Hello World!');, we will replace it with something like res.render('index.ejs'); and we are going to use EJS to build our front-end view
Now, create a new directory called views/ and create an empty file called index.ejs inside the views/ directory. You can now put these lines of code into your new index.ejs file.
Do not forget to change your
res.send('Hello World!');line inindex.jsintores.render('index.ejs');or your code would not work.
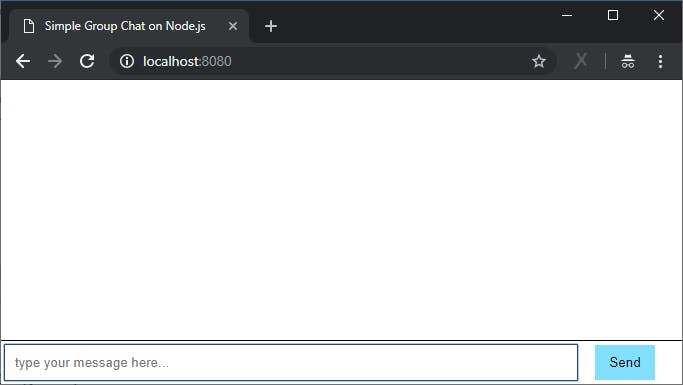
The code above does nothing but provides us with the basic chat user interface like this.
While working on Socket.io, we are dealing with two files at the same time:
- The server app file (e.g.
index.js) - The client front-end file (e.g.
index.ejs)
By using Socket.io, basically we are creating a "tunnel" between the server and client with continuous real-time connection. In the server file, simply put this code:
io.sockets.on('connection', function(socket) {
    // write all the realtime communication functions here
});
so our full index.js looks like this:
The server-side Node.js code is not more than 30 lines, isn't it? 😉
And now, we are going to modify our front-end file, so it will ask the username when users open the page, and open the communication socket with the server app.
So our index.ejs looks like this:
5. The Result
If you are done with the code, try to run your code using:
$ node index.js
and head to your browser and open http://localhost:8080. You can open more than one tab to see how it works, or see the GIF below:
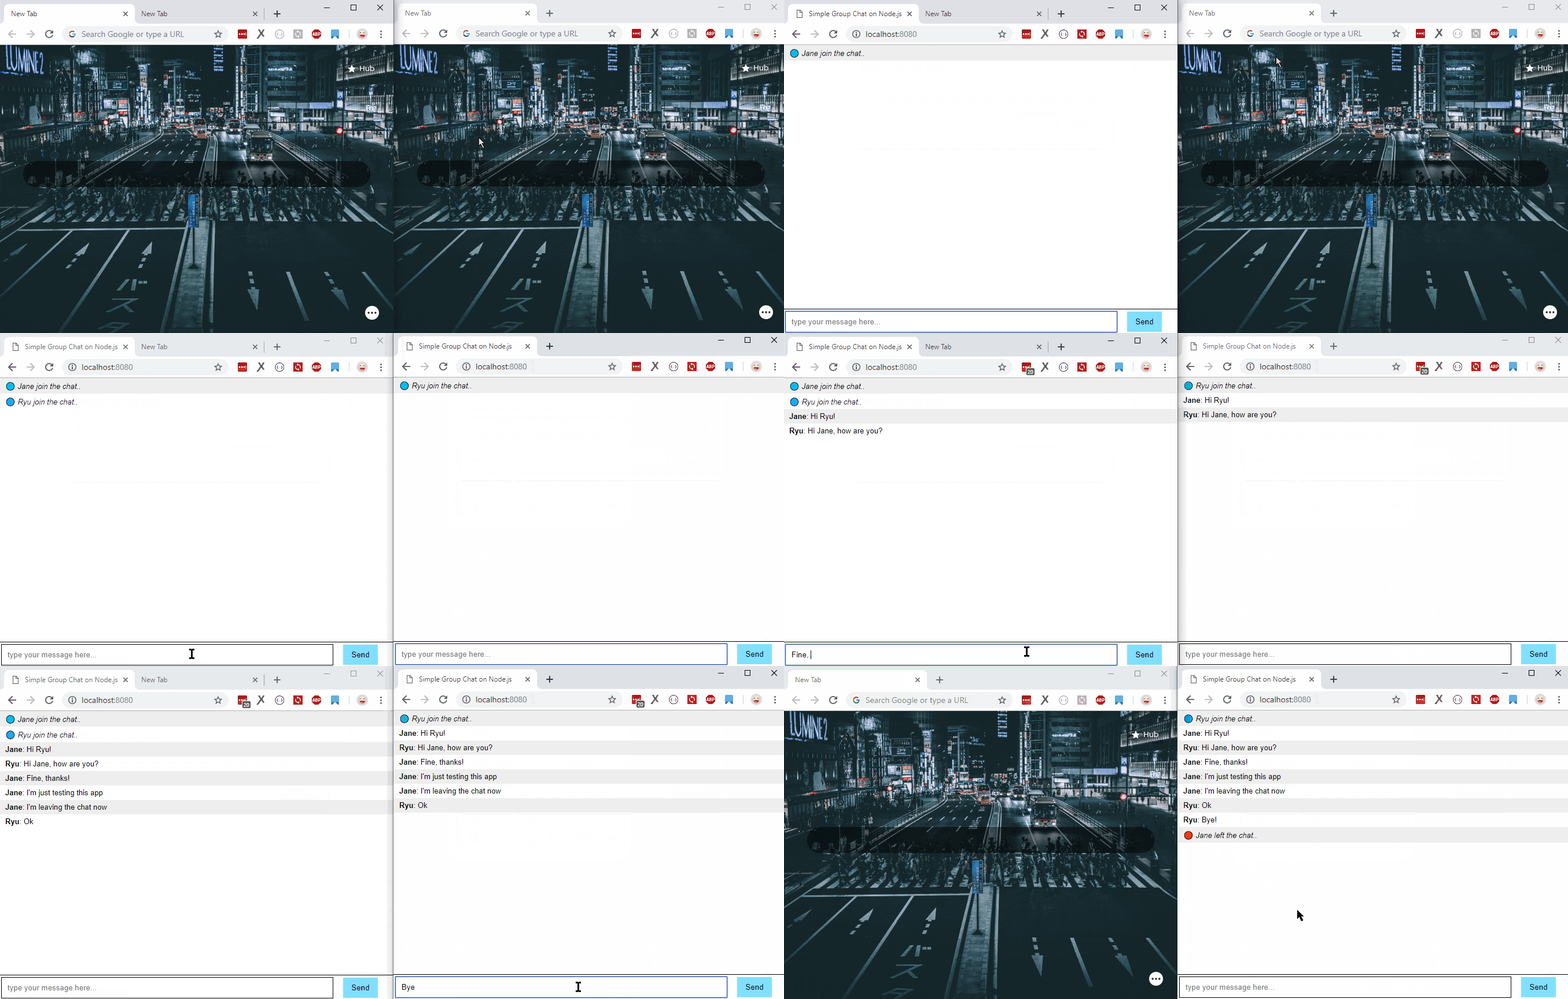
Based on this experience, you should now understand the basic of a chat application using Node.js and Socket.io. There are a lot of things you can do to improve this code e.g.:
- Add typing notification (someone is typing…)
- Add emoji or emoticon
- Saving it to the database
- Etc. The limit is your imagination.
What do you think? Leave your comments below. Full source code on GitHub: github.com/dkhd/node-group-chat
This story is imported from my Medium; and the featured image in this post is edited using my Spotify Photo Filter which you can use for free from my Mini Product .

